
Windows command to create and run first Django app
Django is a free, open-source python-based framework. It enables fast development of any type of web applications. It is secure, maintainable, portable and scalable. The main advantages of using Django are that it has fully loaded common web development tasks, like administration, authentication, site maps etc.
Directory for Django Project
As, the Django program is written in Python. So, we hope your system has installed Python. Now, let's create a directory for a Django project, open cmd and create a new directory -
c:\Python38\Scripts>mkdir projects

c:\Python38\Scripts>cd projects
Install Virtual Environment
Before installing Django, it is recommended to install virtual environment (virtualenv). It provides a new virtual environments for your project and creates own directory.
c:\Python38\Scripts\projects>virtualenv envThe above command returns something like this on successful installation -
Using base prefix 'c:\\python38'
New python executable in c:\Python38\Scripts\projects\env\Scripts\python.exe
Installing setuptools, pip, wheel...
done.
Activate Virtual Environment
You have seen a new folder name 'env', is created in the 'projects' folder. The subfolder 'Scripts' contains the activation file. The Django project needs to activate the virtual environment first. So, we need to activate this using the following commands -
c:\Python38\Scripts\projects>cd env/Scripts

c:\Python38\Scripts\projects\env\Scripts>activate

(env) c:\Python38\Scripts\projects\env\Scripts>
The above command modifies the shell prompt and indicates which virtual environment is currently active.
Install Django
Now, let's enter the following command to install Django
(env) c:\Python38\Scripts\projects>pip install DjangoIt returns something like this on successful installation -
Collecting django
  Using cached https://files.pythonhosted.org/packages/55/d1/8ade70e65fa157e1903fe4078305ca53b6819ab212d9fbbe5755afc8ea2e/Django-3.0.2-py3-none-any.whl
Collecting pytz
  Using cached https://files.pythonhosted.org/packages/e7/f9/f0b53f88060247251bf481fa6ea62cd0d25bf1b11a87888e53ce5b7c8ad2/pytz-2019.3-py2.py3-none-any.whl
Collecting sqlparse>=0.2.2
  Using cached https://files.pythonhosted.org/packages/ef/53/900f7d2a54557c6a37886585a91336520e5539e3ae2423ff1102daf4f3a7/sqlparse-0.3.0-py2.py3-none-any.whl
Collecting asgiref~=3.2
  Using cached https://files.pythonhosted.org/packages/a5/cb/5a235b605a9753ebcb2730c75e610fb51c8cab3f01230080a8229fa36adb/asgiref-3.2.3-py2.py3-none-any.whl
Installing collected packages: pytz, sqlparse, asgiref, django
Successfully installed asgiref-3.2.3 django-3.0.2 pytz-2019.3 sqlparse-0.3.0

(env) c:\Python38\Scripts\projects>
(env) c:\Python38\Scripts\projects>pip freeze
asgiref==3.2.3
Django==3.0.2
pytz==2019.3
sqlparse==0.3.0Create First Django Project
In the above command, we have installed Django successfully, now let's learn step-by-step process to create a new Django project.
(env) c:\Python38\Scripts\projects>django-admin startproject schoolIn the above command, we have created a new Django project 'school'. This created folder provides you structure of the project -
school/
    manage.py
    school/
        __init__.py
        settings.py
        urls.py
        asgi.py
        wsgi.py
manage.py
It is a command-like utility to interact with the project.
init.py
It indicates the folder as a package.
Settings.py
It contains all the configurations of the project.
urls.py
It is used for routing pages for a particular path.
wsgi.py
It contains all wsgi (web server gateway interface) settings.
Create New Application
To create a new app in Django, you need to go to the directory containing 'manage.py' and enter the following command -
(env) c:\Python38\Scripts\projects>cd school

(env) c:\Python38\Scripts\projects\school>python manage.py startapp students
Django Help
You can get the full lists of Django commands with the 'help' command.
(env) c:\Python38\Scripts\projects\school>python manage.py helpIt returns messages something like this -
Type 'manage.py help ' for help on a specific subcommand.

Available subcommands:

[auth]
    changepassword
    createsuperuser

[contenttypes]
    remove_stale_contenttypes

[django]
    check
    compilemessages
    createcachetable
    dbshell
    diffsettings
    dumpdata
    flush
    inspectdb
    loaddata
    makemessages
    makemigrations
    migrate
    sendtestemail
    shell
    showmigrations
    sqlflush
    sqlmigrate
    sqlsequencereset
    squashmigrations
    startapp
    startproject
    test
Migrate Django
We should do a migration of Django to propagate all the changes made in the model. Here is the simple command for migration.
(env) c:\Python38\Scripts\projects\school>python manage.py migrateThe above command returns messages something like this -
Operations to perform:
  Apply all migrations: admin, auth, contenttypes, sessions
Running migrations:
  Applying contenttypes.0001_initial... OK
  Applying auth.0001_initial... OK
  Applying admin.0001_initial... OK
  Applying admin.0002_logentry_remove_auto_add... OK
  Applying admin.0003_logentry_add_action_flag_choices... OK
  Applying contenttypes.0002_remove_content_type_name... OK
  Applying auth.0002_alter_permission_name_max_length... OK
  Applying auth.0003_alter_user_email_max_length... OK
  Applying auth.0004_alter_user_username_opts... OK
  Applying auth.0005_alter_user_last_login_null... OK
  Applying auth.0006_require_contenttypes_0002... OK
  Applying auth.0007_alter_validators_add_error_messages... OK
  Applying auth.0008_alter_user_username_max_length... OK
  Applying auth.0009_alter_user_last_name_max_length... OK
  Applying auth.0010_alter_group_name_max_length... OK
  Applying auth.0011_update_proxy_permissions... OK
  Applying sessions.0001_initial... OK
Start Django Server
Django provides its own internal server. We do not need to install an external server. Here is the simple command to run the server.
(env) c:\Python38\Scripts\projects\school>python manage.py runserverIt returns massages something like this -
Watching for file changes with StatReloader
Performing system checks...
System check identified no issues (0 silenced).
January 06, 2020 - 11:35:58
Django version 3.0.2, using settings 'school.settings'
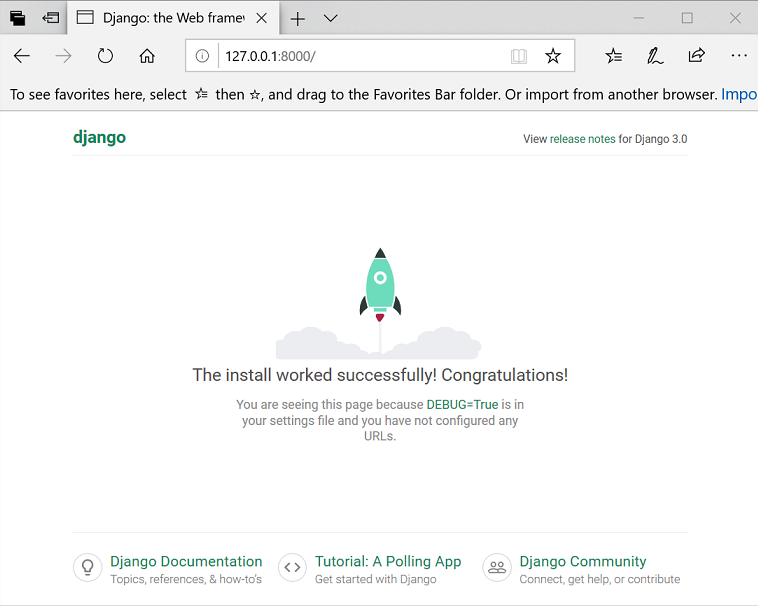
Starting development server at http://127.0.0.1:8000/
Quit the server with CTRL-BREAK.By default, Django starts on IP 127.0.0.1 and port 8000. When you open this on browser, by default it will look like this -
Django Admin
Django provides an automatic admin interface. This is one of the powerful parts of Django. You can easily access this using the /admin page.
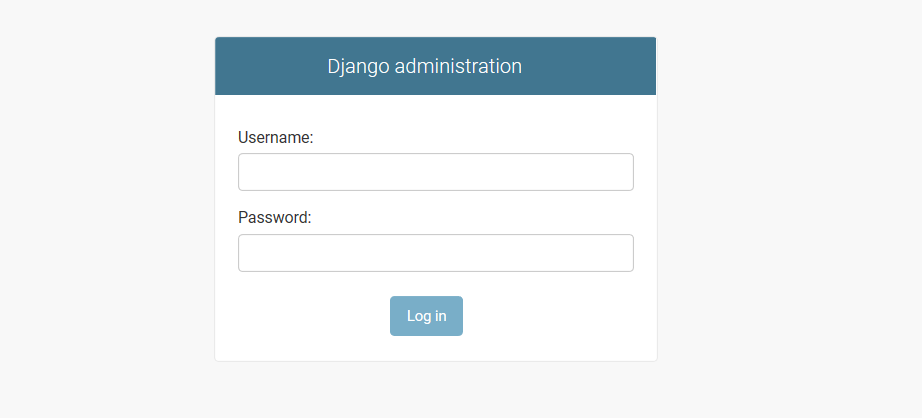
Create Admin User
To create a new super user, simply run the following command and follows the instructions -
python manage.py createsuperuserRelated Articles
Django ajax GET and POST requestDjango Pagination with Ajax and jQuery
Django upload image to database
How to read and write a file using Django
Django pass variable from view to HTML template
Django Export Model Data to CSV
How to generate and download CSV file in Django
How to get data from MySQL in Django View with Models
Django Send Mail on Contact form submission
How to insert data in MySQL database from an HTML form using Django
How to generate QR Code in Python using PyQRCode
Python programs to check Palindrome strings and numbers
CRUD operations in Python using MYSQL Connector
Fibonacci Series Program in Python